When you shoot a gun and the powder explodes, residues are left inside and can pick up various types of dirt, some of which are corrosive so if you don’t clean them they can have a very negative effect on the integrity of the steel, starting corrosion that’s difficult to stop once it gets a foothold.
Why it always was and still is so important to carefully clean your shotgun
In an old catalogue of one of the biggest Italian gunsmiths from the early 60s, after a brief description of the routine cleaning required on a shotgun, came a concise warning:
Never let the sun set on dirty barrels!
It was certainly a different age, the primers used in cartridges had erosive and corrosive mixes made with mercury fulminate and potassium chlorate, which left salty residues that turned acidic and quickly left rust stains and pits in the barrels, and the gun was ruined due to nothing more than banal forgetfulness.
Today things are different, the primers, which in the past were responsible for ruining many guns, have over the last decade become almost innocuous, “green” lead styphnate or azide primers aren’t corrosive, and the chrome-plating inside barrels provides a highly effective barrier against erosion and the oxidizing action of the fumes produced when you shoot the gun.
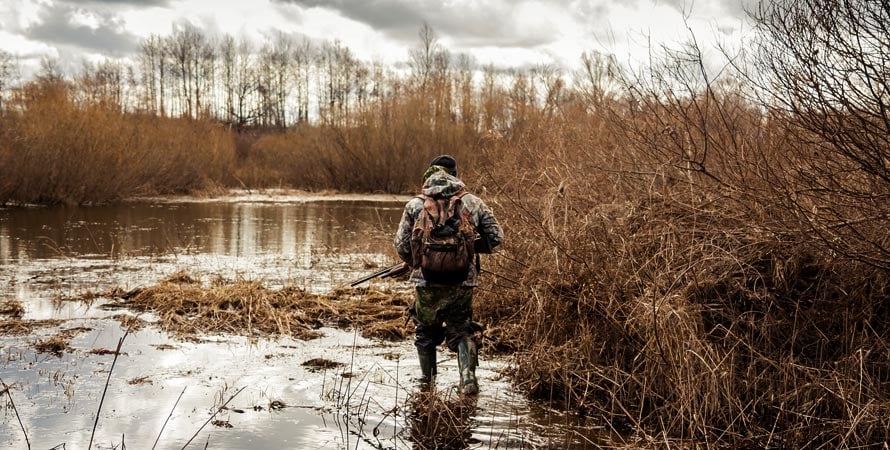
Watch out for damp! What are its effects on the gun?
Damp is a silent but formidable opponent, and can attack every good quality steel, making it rust.
If left unchecked, in just a short time damp will create small or large pits and stains. It takes just a few days to ruin a fine silver, uniform, spotless burnished metal finish.
The perfect surface of your gun, polished to a mirror finish, will start to show signs of rust stains and pits.
But you can easily prevent such a disaster.
How often do you need to clean a gun?
Every time you come home after the hunt, even if you haven’t fired a shot, you have to clean and lubricate your gun. It’s the only way to protect it against rust. Even if you’ve fired just a few shots, or even one, the fumes will have dirtied the barrels, the action, and the other mechanical parts.
What’s more, it doesn’t matter whether you’ve taken your gun hunting for just a few minutes or a whole day.
In both cases the fingerprints left by sweaty hands or the damp left by rain or snow, splashes of mud, and even a few drops of dew that dripped off a bush will have come into contact with your gun, so you can’t just leave it as it is.

You’ll often notice dust from the ground or small bits of vegetation from the woods have gotten into your gun, so you have to strip it and follow a rational but simple procedure to clean and lubricate the various parts of the gun.
The residues that can quickly cause the corrosion it’s essential to prevent are the ones we mentioned above:
- Damp
- Sweaty fingerprints
- Dust
- Fragments of leaves
- Mud and blood
- Fumes from the cartridges shot.
How to clean a (side-by-side, over/under or semi-automatic) shotgun
Carefully strip the gun into its main parts.
With break action guns, first disconnect and remove the forend from the barrels. To do this on a side-by-side or over/under shotgun simply remove the forend by pressing the pushbutton on the top or by releasing the Auget.
Using the unlocking lever to break the barrels fully (with the lever fully open), the barrels disengage from the action hinge pins and can be disassembled from the action.
On a semi-automatic unscrew the cap and remove the end of the magazine, then pull out the wooden forend. Now remove the barrel, which pulls out of the receiver by applying a little force or helping it with a few knocks of the action.
When the main parts of the gun have been disassembled, “field stripped” in other words, you can start cleaning.
The main cleaning operations on a shotgun
Spray a little detergent gun oil into the barrel if you’re just giving the gun a quick clean, or use an actual solvent (such as Birchwood Casey Bore Scrubber) if you want to thoroughly clean it.
Once you’ve sprayed the parts, carefully place them on a horizontal workbench and let the product soak in for a few minutes.
While waiting, take a cloth that you’ve slightly dampened with good quality gun oil, and thoroughly clean every part of the surface of the action or receiver you can reach, getting right down into all the grooves and carefully removing any traces of dirt and deposits, especially in the area around the hammers/firing pins.
An old toothbrush or a short, stiff paintbrush is great for those hard-to-reach parts, and you can use a wooden toothpick for holes and grooves.
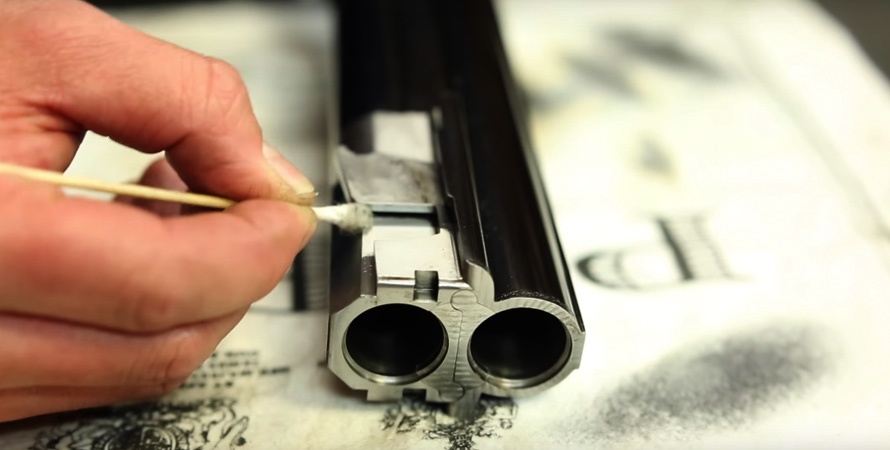
When you’ve removed all the dirt left by the fumes, take a clean 4-5 cm long lightly oiled brush and finish cleaning every small recess and place you didn’t reach before. In particular, deep clean the area around the break action hinge pins and the seat of the recoil spring guide and bolt guides on automatics.
Every now and then (not every time) drip a few drops of lubricating oil into the mechanism of the unlocking lever, on the locking lugs, the release pin or lever and ejectors. On automatics, lubricate the extractor mechanism and the internal guides on which the bolt slides.
On automatics a compressor is a great tool to use, and with a detergent spray lets you thoroughly clean the firing mechanism without having to strip the gun down too much.
Advice for cleaning gas-operated and reciprocating barrel semiautos
On a gas-operated shotgun you have to leave the area around the gas valve, pin and plunger clean but dry, while on reciprocating barrel automatics you should never lubricate the magazine tube, spring and barrel friction rings.
Use a soft brass brush for chamois leather to dry clean the chequering of the wood, following the lines and crossing over the grooves. Go over the clean chequering using a brush with a drop of lemon oil or walnut oil for furniture.
Go over the trigger guard, the trigger and the unlocking lever using a cloth with a little oil, and do the same in general on all the outer and internal metal parts, putting them back down as you go.
Swabbing the barrels to eliminate lead residues
Now position the barrel/s securely on a horizontal workbench, with a thick rag underneath for protection, and swab well.
To do this, fit a spiral phosphor bronze bore brush on the wooden rod, spray it with oil and insert in the barrel from the action end.
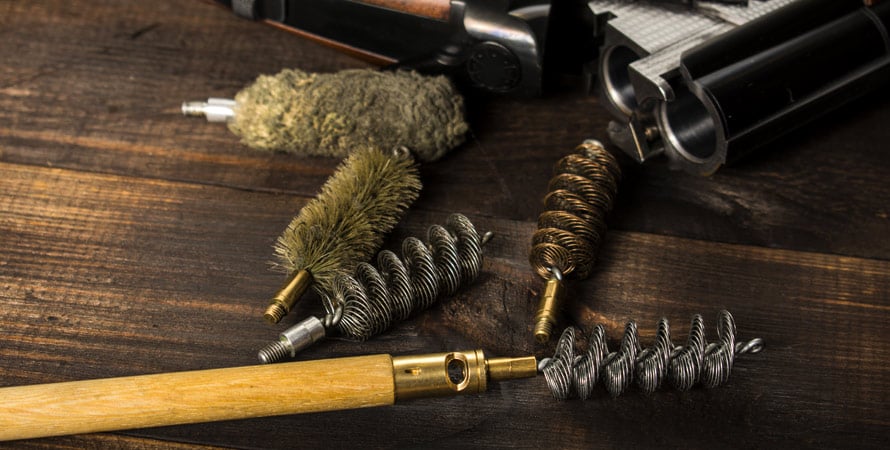
Swab at least 10-12 times pulling the brush all the way out at both muzzle and block ends.
Now use a strip of rag 6-8 cm wide and 30 cm long. After cleaning the inside of the barrel well, look through it with a backlight to make sure there are no traces of lead, plastic or streaks of carbon deposits.
If there are still traces of deposits, spray a little more solvent into each bore and swab again with the bronze brush.
How to clean interchangeable chokes
Take particular care to clean barrels with interchangeable chokes well. Remove the chokes to clean the inside and outside of these delicate tubes and the part of the barrel that houses them.
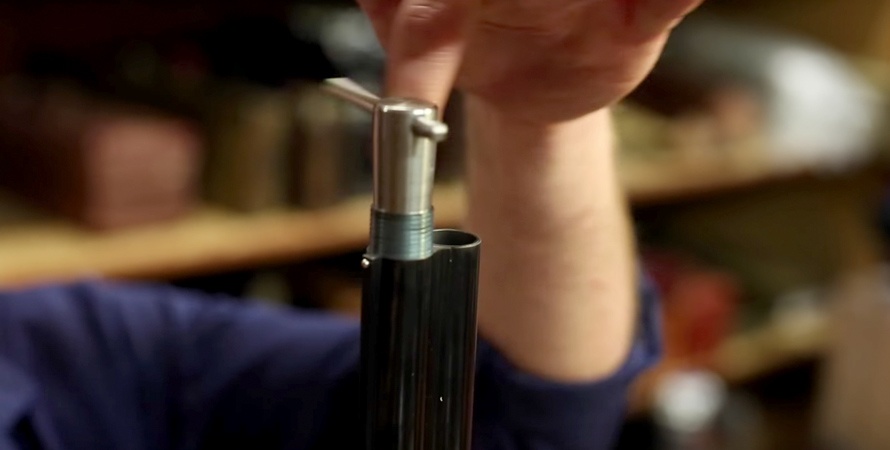
To clean the chokes use a rough cloth or fine steel wool pad and a product for cleaning stainless steel (a very effective way to clean the gas plungers on gas-operated shotguns too), until you’ve removed all the carbon, metallic and plastic deposits left by the cartridges fired.
It’s very important to clean the seat of the choke with a bore brush and diesel or petrol to completely eliminate all the deposits from this delicate part of the barrel.
Almost finished! Drying and final cleaning
Drying and final cleaning is done with a strip of clean rag threaded through the slot in the cleaning rod and partially wound around it.
After drying the inside of the barrels and changing the rag once or twice the bore and block should be well polished. If there’s a lot of fouling or matt streaking in the barrels, wrap the bronze bore brush in a thin mat of medium-course steel wool, which helps remove stubborn deposits.
Go over the whole barrel with the rag strip and finally apply a thin protective film everywhere with an oily brush .
The bronze bore brush should be washed in petrol or thinners after use, then blown dry with a compressor. Keep the brush in a box or plastic bag to prevent it picking up dust and abrasive residues.
Use a cloth to energetically clean the muzzle and remove any trace of smoke and carbon residues. Stubborn deposits can be removed using a steel wool pad and oil.
Finish lubricating all the moving parts with small drops of lubricating oil, then reassemble the gun, going over it for the last time with the brush. Thoroughly brush the rib and sling swivels. On the hinges of break-action guns it’s a good idea to apply a little (white) lithium grease or (black) graphite grease, or white petroleum jelly.
Think about how long it will be before you use the gun again
If you won’t be using the gun for several months, it’s a good idea to spray a bit of oil into the barrels and swab with a wool swab to leave a thin film of protective oil in each bore. The oiled wool swab (called a mop) should be kept in a plastic bag or tube to stop it drying out or accumulating dust and dirt.
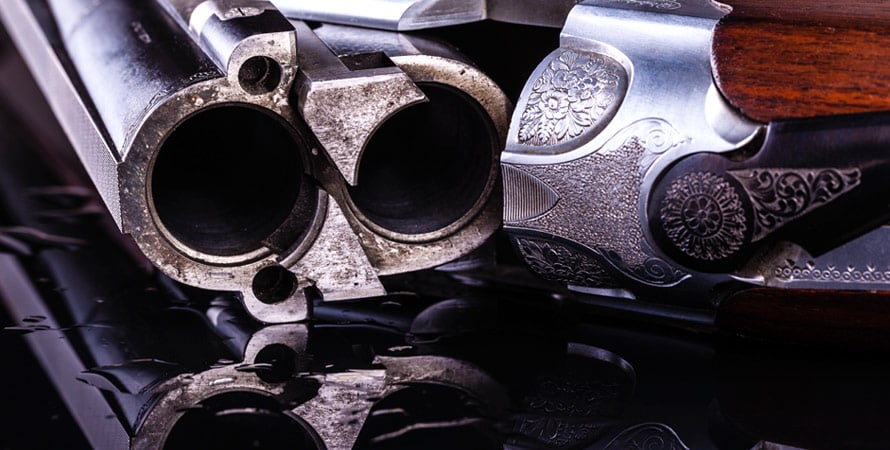
On side-by-side and over/under shotguns, use a lightly oiled cloth to thoroughly clean the inlay (the metallic part in a wooden forend) and clean inside, then use a brush to lubricate all the metal parts, paying particular attention to the ejector levers.
Every now and then check your guns even when you aren’t using them, brush a little oil on and oil the bores with a mop.
This will keep your gun in a good condition.
What more can I say except, enjoy your work!



Comment this post